Businesses already know the importance of creating aesthetically pleasing graphics for their digital displays. Whether you’re promoting a team event in the office, a special offer in your store, or even an advertisement in your lobby, you only have so many seconds to effectively grab your audience’s attention.
Typically, creating attractive graphics for digital signage content can be a time-consuming process. And without the proper skills for using services like Adobe Illustrator, it can be near impossible.
Canva offers designers a fast, free, and intuitive tool for creating graphics for any marketing collateral. It’s a very simple way to create stunning visual content for your digital signage. To help get you started, we put together an step-by-step tutorial to help get you creating!
Here is how to create engaging digital signage content in 9 easy steps using Canva.
Step 1: Create an account
To get started with Canva, you’ll need to create an account (100% free). We recommend signing in with your Facebook or Google account to speed up the process.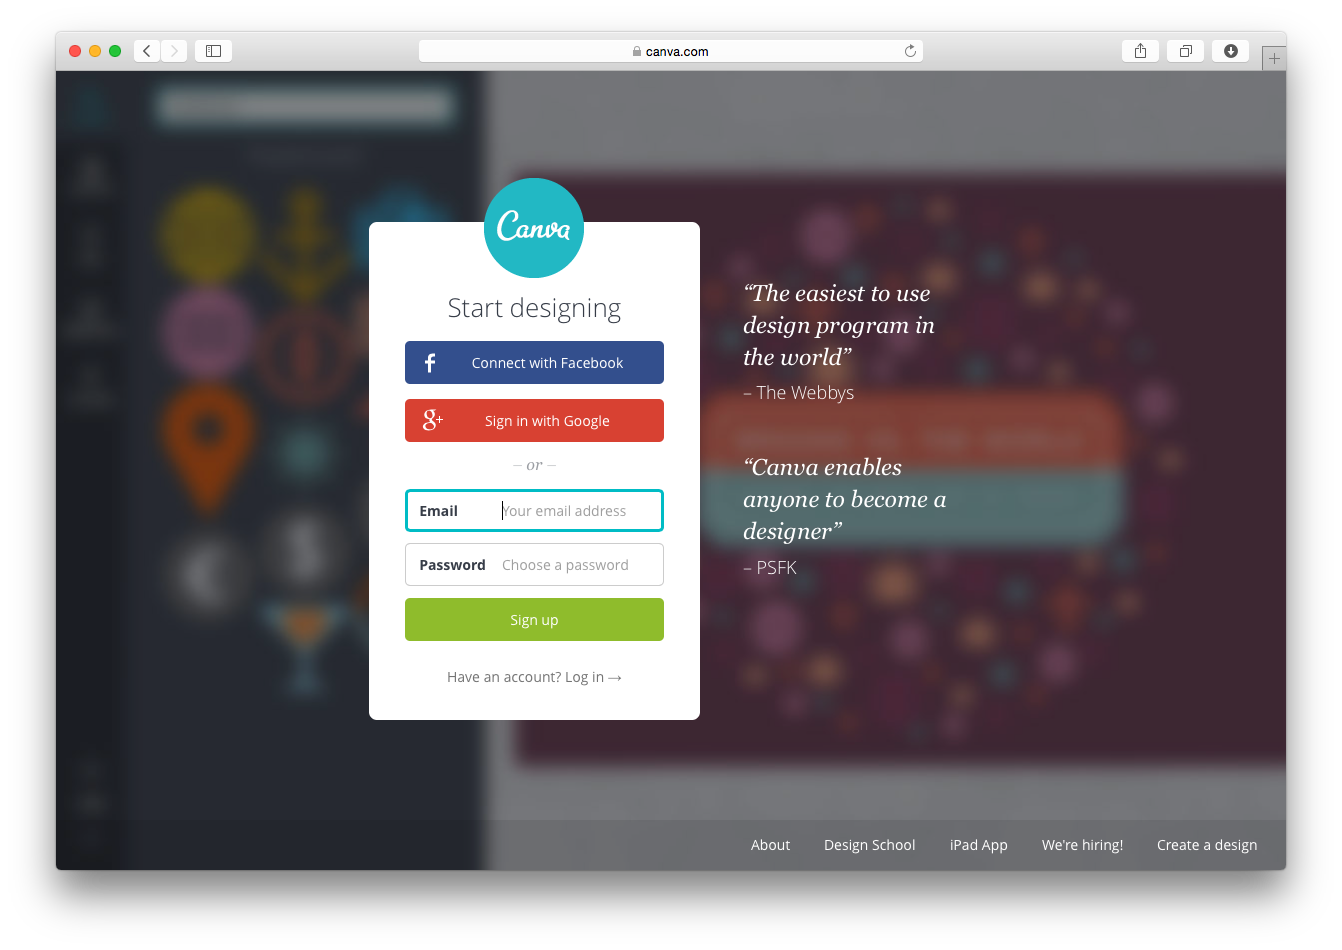
Step 2: Create a new design
You’ll then be taken to your account dashboard (below). For digital signage content, you’ll want to select “use custom dimensions.” Enter “1920×1080” for the dimension (standard TV ratio). If your display is not standard TV dimensions, insert its width and height.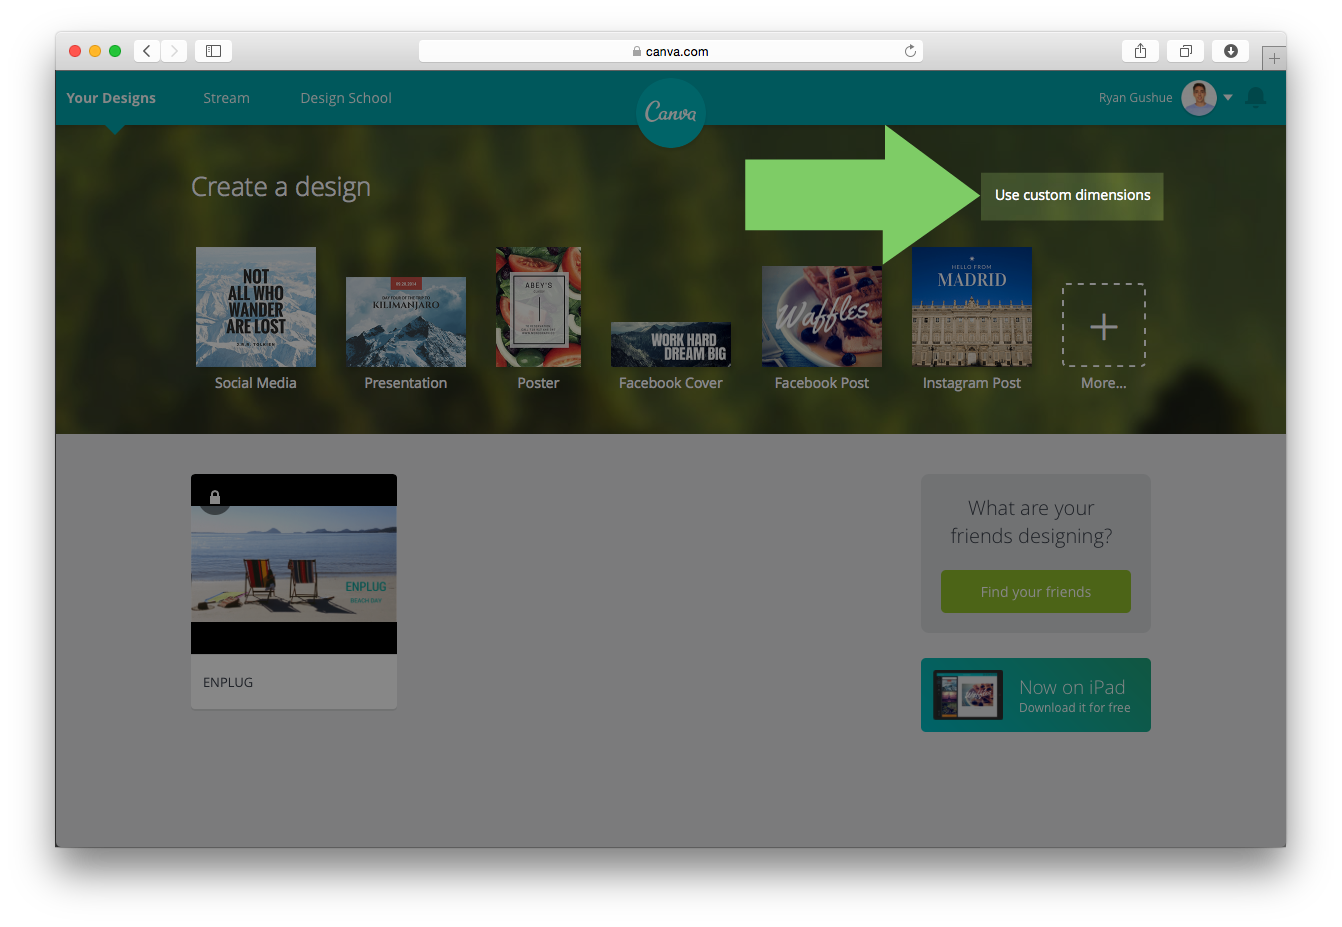
Step 3: Determine your message
For this step, break out the pen and paper. What do you want to communicate with your graphic? Are you creating a promotion? Possibly a graphic for the office? For the sake of this tutorial, we’ll be creating an office graphic advertising a team beach day.
Step 4: Select a background image
Canva has thousands of images for you to choose from. If you don’t see something you like, try searching Google and upload the image from your desktop into your Canva dashboard (be sure to check the image’s license). As you can see below, I searched “beach” and found a great background for my beach day advertisement. Click the image to get started.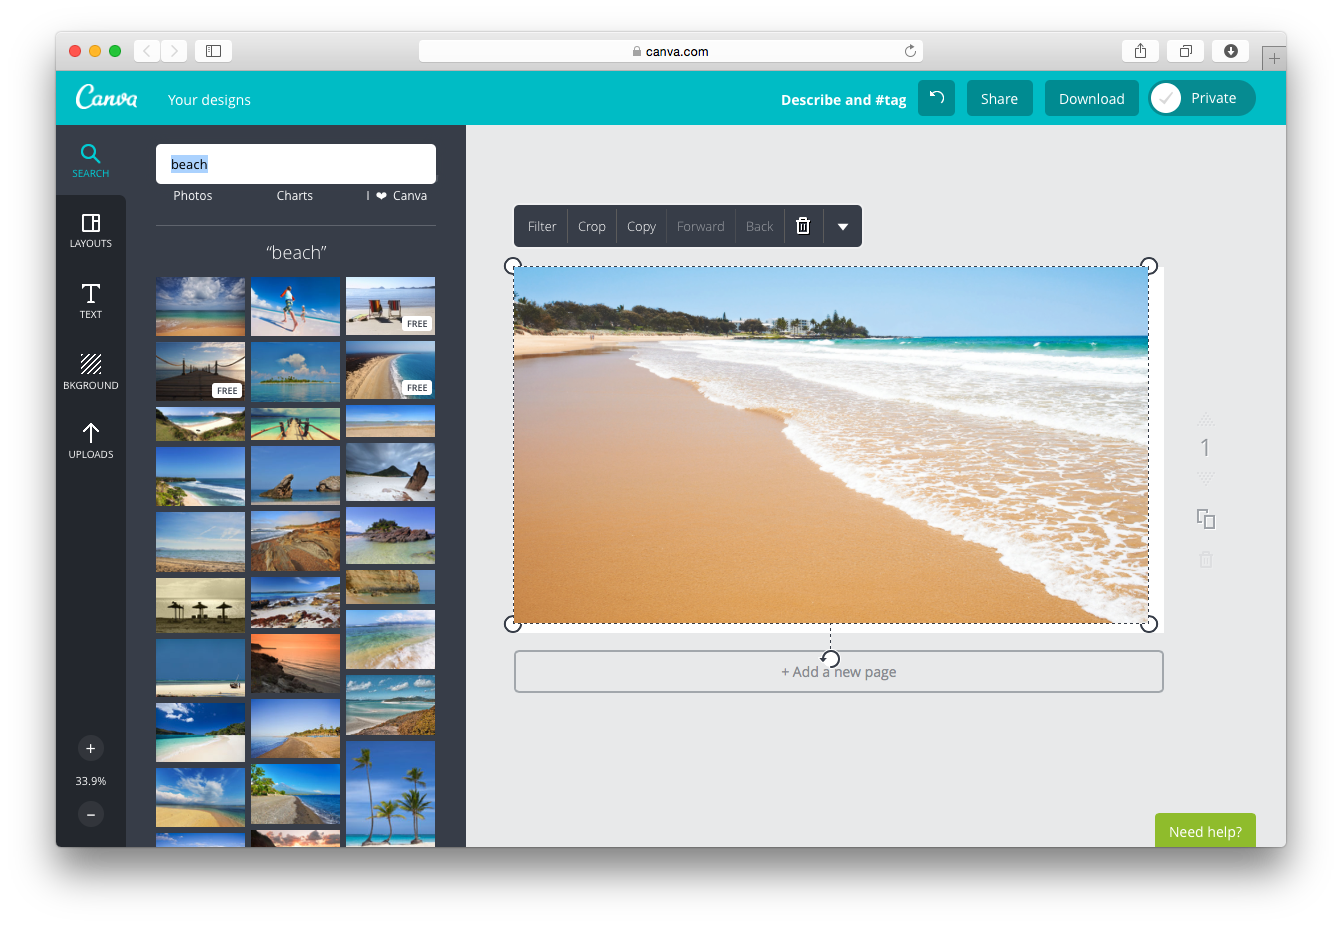
Step 5: Choose a filter
Adding a filter to your background image will help create a more professional feel (not to mention make your text pop). As you can see below, I’ve chosen the “EPIC” filter for my background image. There’s also options for adjusting brightness and contrast.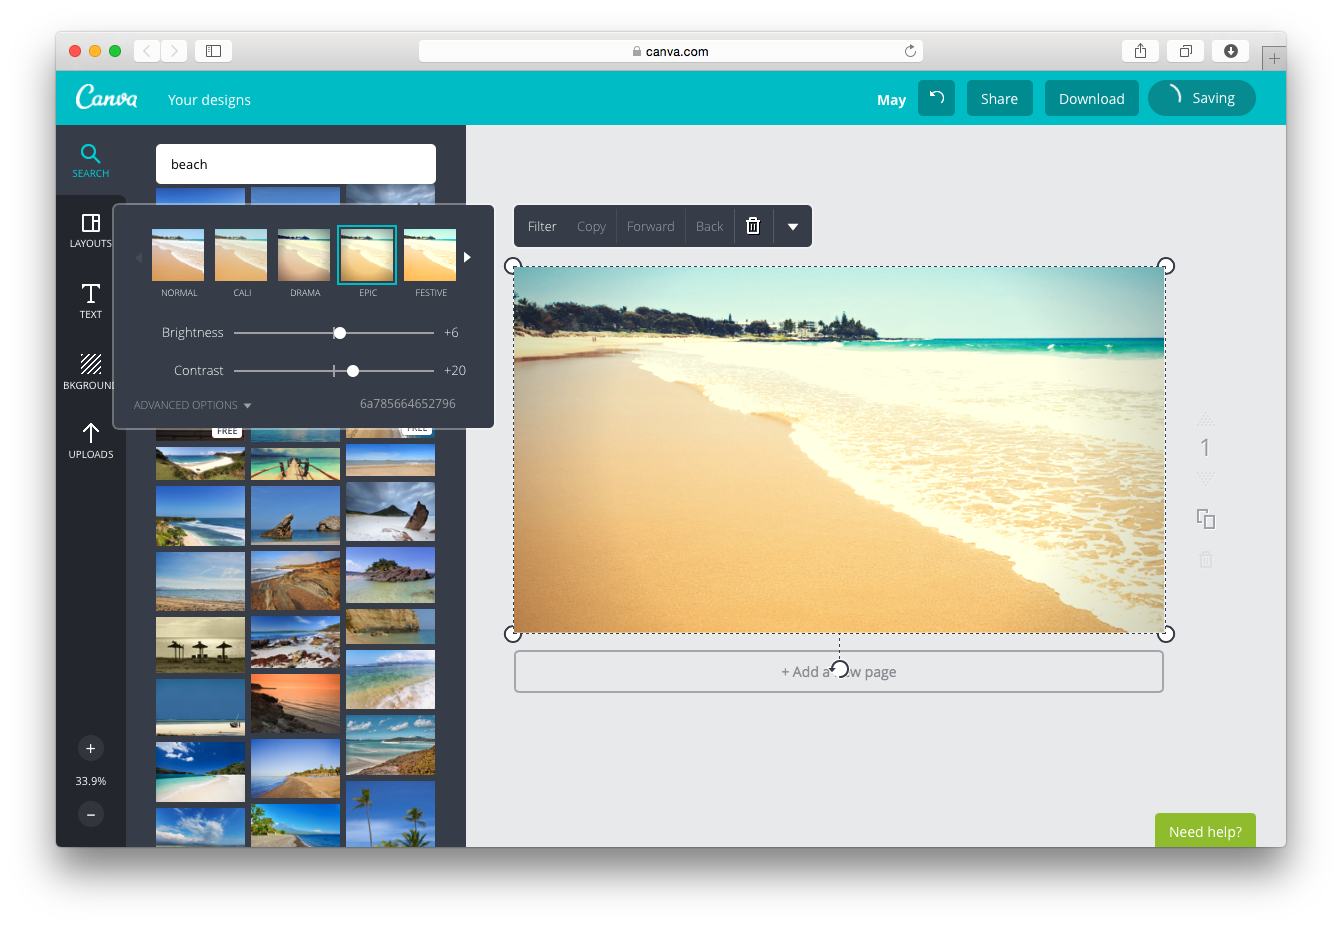
Step 6: Choose your text
Canva offers a large variety of pre-made text formats, which you can choose and customize with options for size, font, color, transparency and even spacing. I chose a format titled “the coffee shop” and customized it with text for my beach day theme.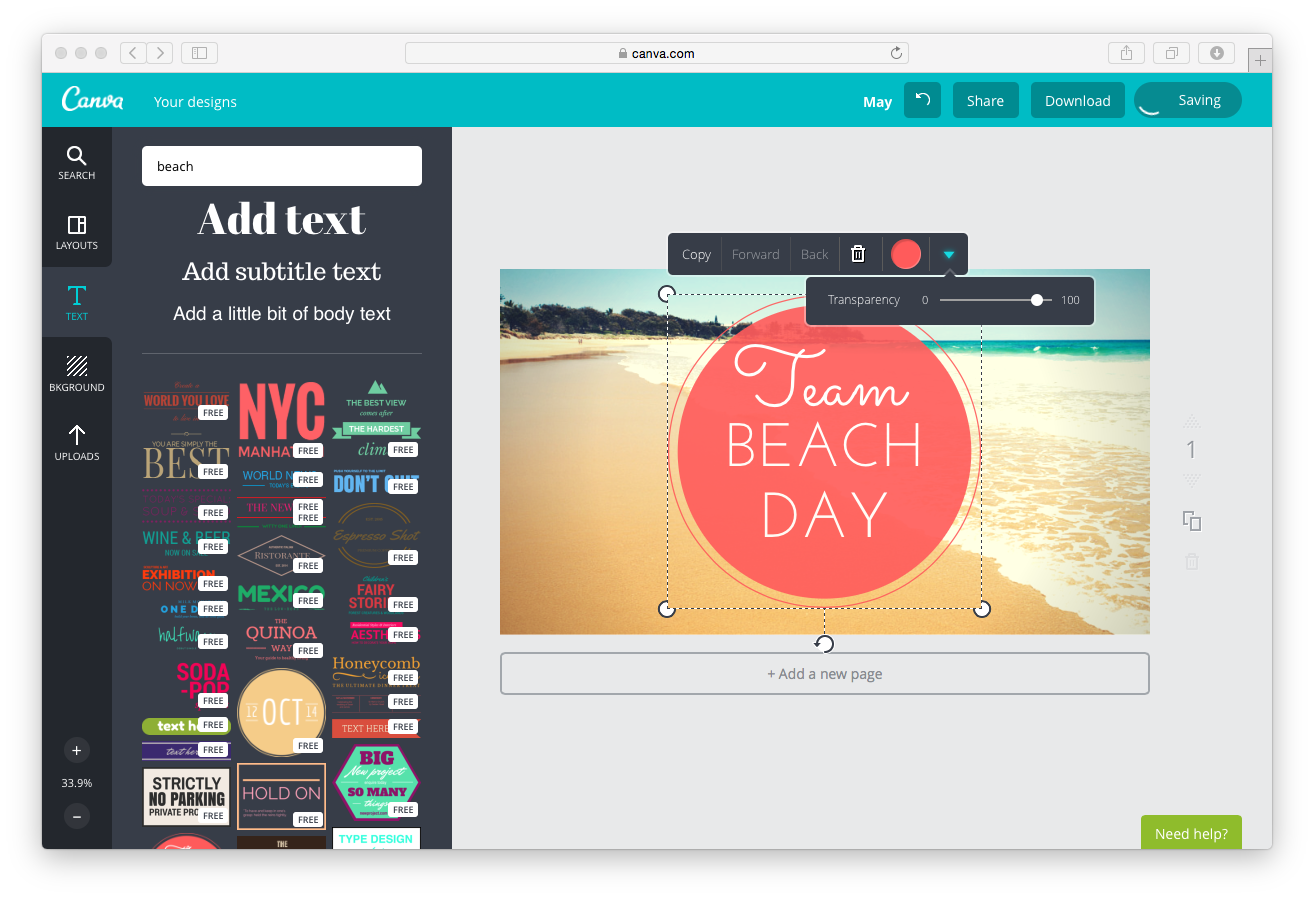
Step 7: Add additional images and text (if needed)
The best part about Canva? You can easily add any number of additional text or images. I didn’t have enough space to add the date of the beach day, so I added a simple text box and dragged it onto the pre-made text format I chose in the previous step.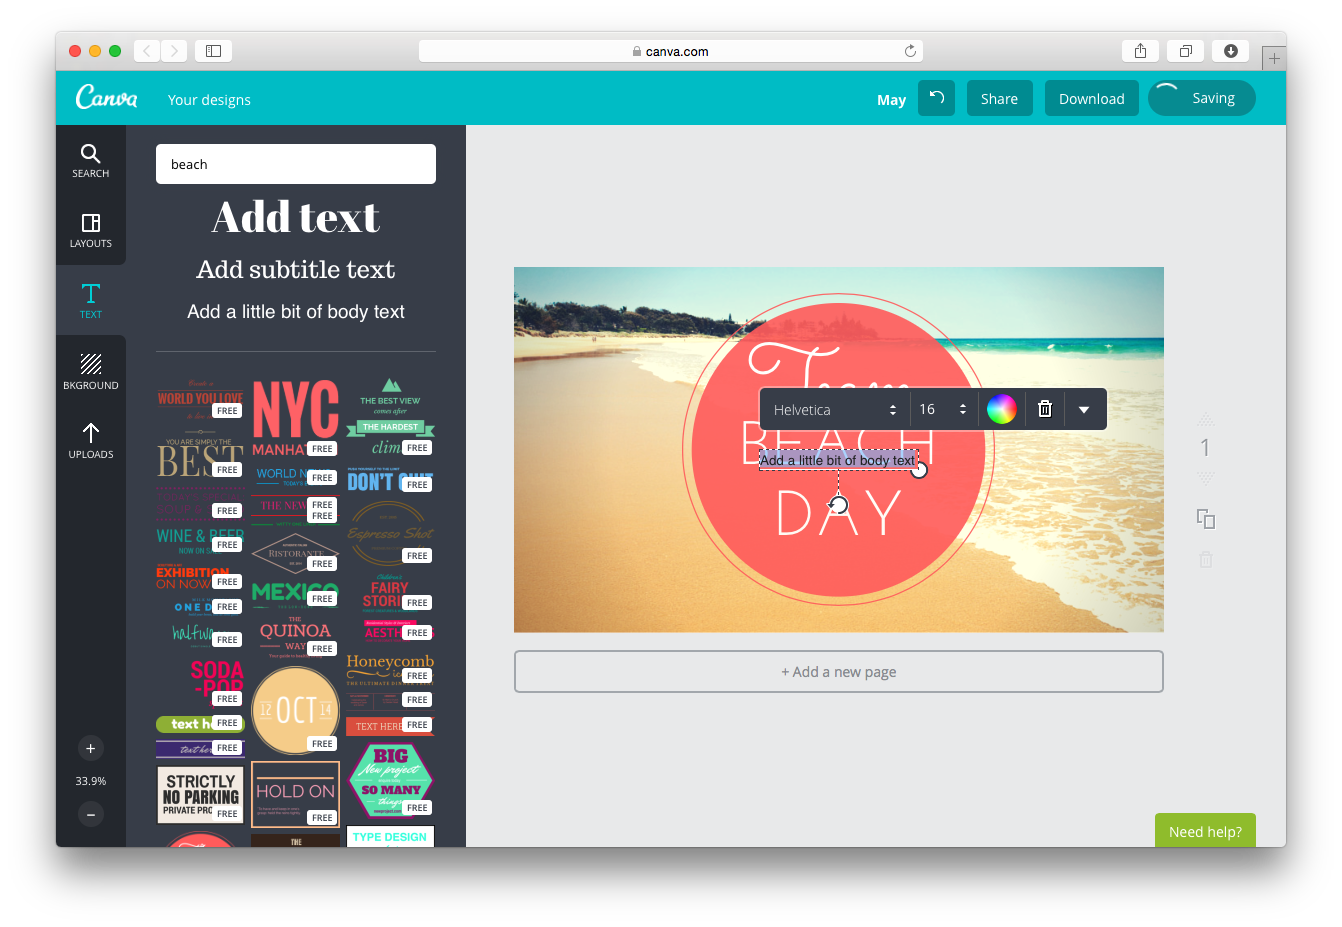
Step 8: Upload your logo
To make your advertisement or promotion on-brand, we recommend adding your logo. To insert your logo, select “uploads” on the left sidebar. Then, just drag and drop your logo wherever you’d like. You can upload images into Canva from your desktop, Facebook, or even Google Drive.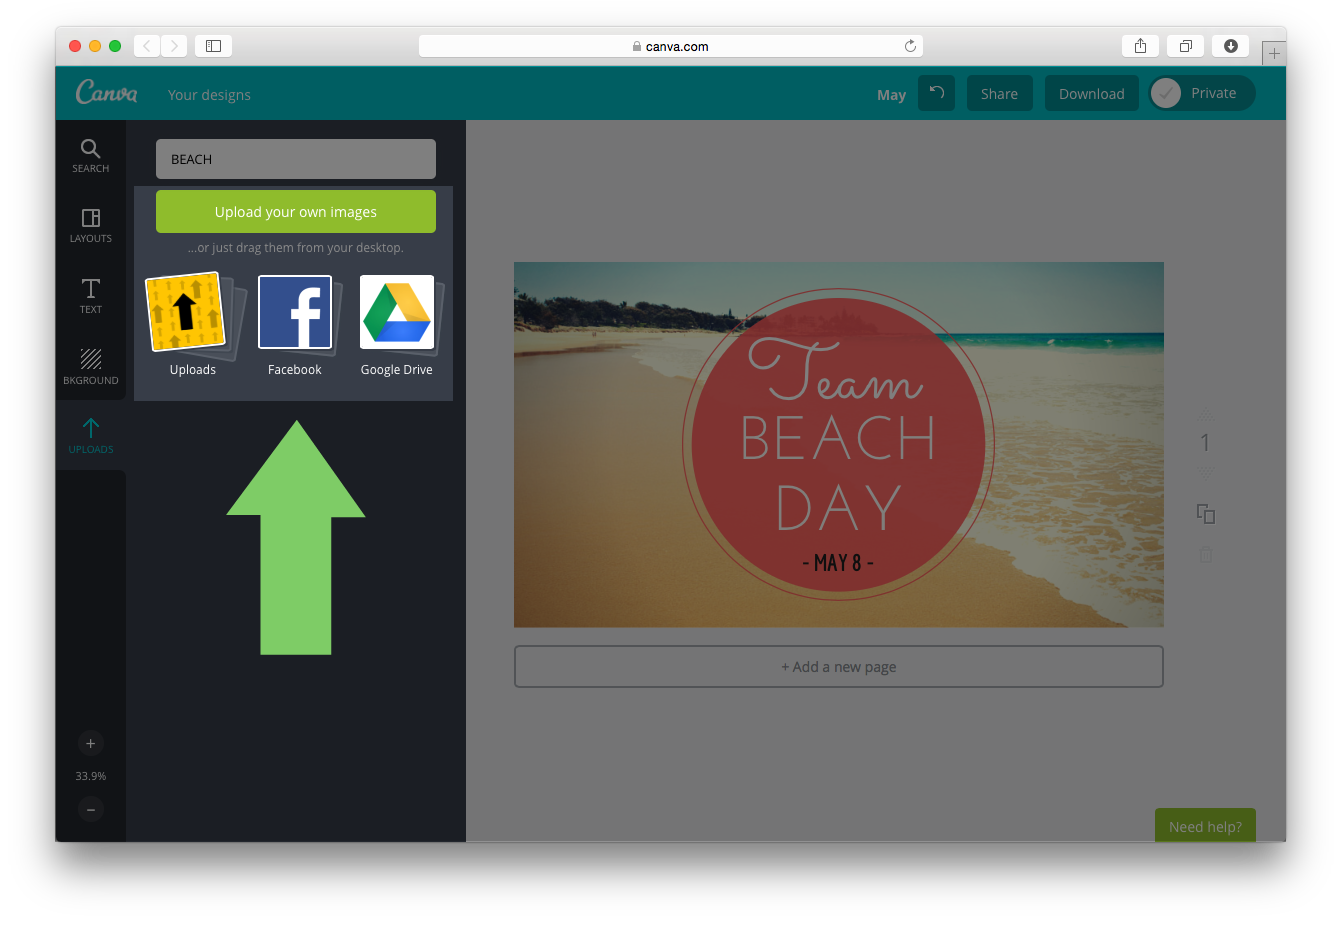
Step 9: Download your image
When you’re finished with your graphic, click the “download” button in the top right-hand corner of your dashboard. Select “image” and the graphic will be automatically downloaded to your desktop!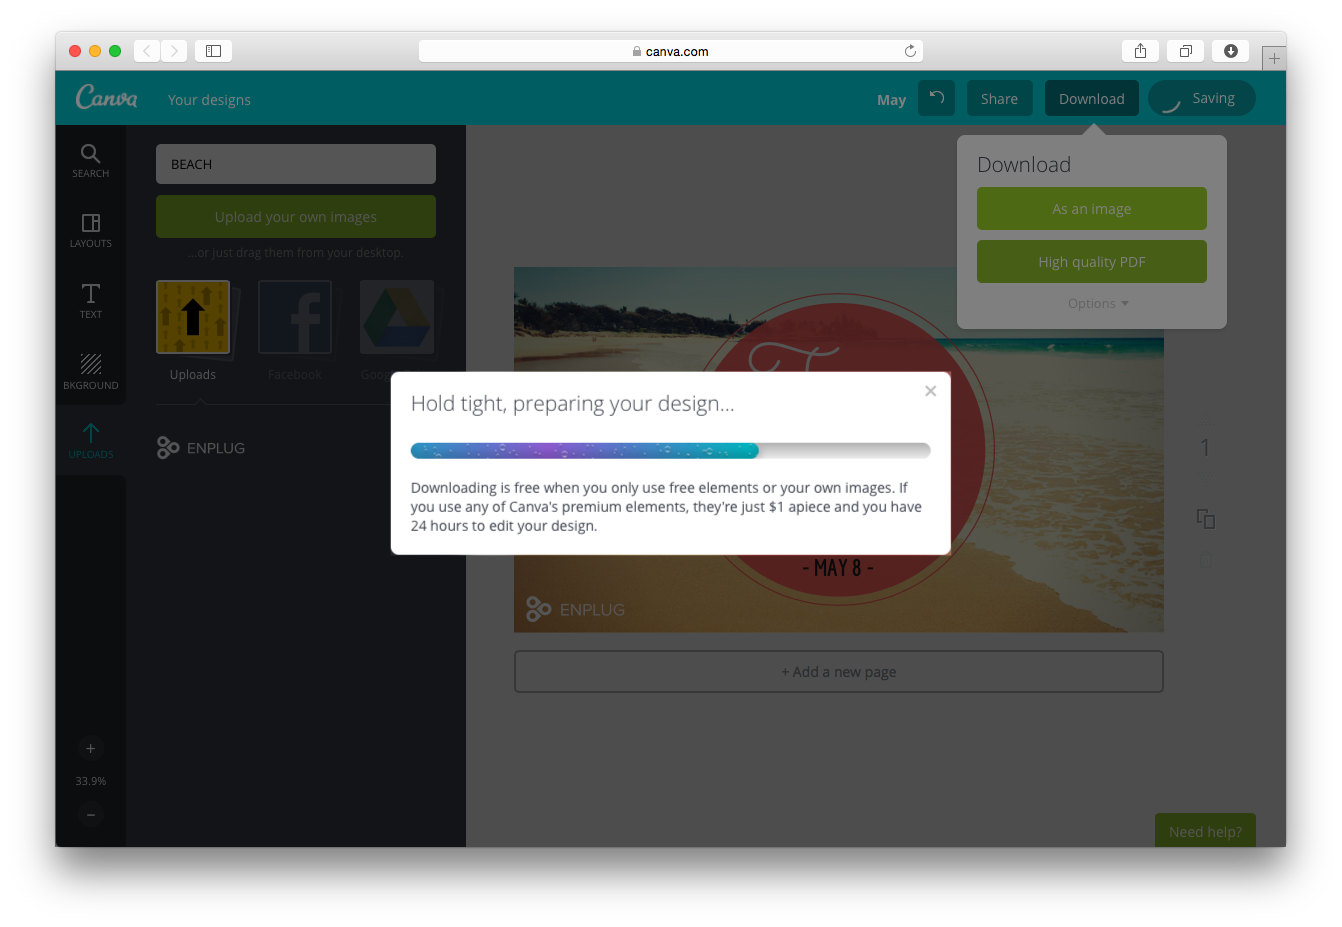
As you can see, it doesn’t take a design master to create great digital signage content with tools such as Canva. We recommend Canva to all of our customers for a simple, cost-effective way to showcase great digital signage content with Enplug!